Preserving Classes

We are excited to continue offering preserving classes at The Depanneur in 2014. Stay tuned for details.

Interested in learning how to preserve in the privacy of your own home. I am offering individual or group home classes. I will come prepared with the recipe, the tools and the supplies. You and your friends will walk away with the knowledge and some tasty treats. If this sounds interesting send me an email.

Blog Index
The journal that this archive was targeting has been deleted. Please update your configuration.
Navigation

Entries in Non Preserve Recipes (14)

Sunday
Aug182013

Quick and Delicious Basil Vinegar

I have neglected my vegetable garden for several days and at this time of year that can mean numerous things await you. You can walk out and have vegetables that have grown past their prime, it can mean weeds have taken over places you wished they hadn't, that rabbits have eaten all of your carrots or that there is just a lot of stuff ready to be picked and consumed.

This morning it was the latter. There were green beans ready, so I picked them and they will be in this evening's salad. There were cucumbers galore, so I picked all of those and they will come with me tomorrow to the commercial kitchen and get turned into Manitoba Pickles (more on that in an upcoming post). The carrots are almost ready, so I picked one just for the flavour...delicious. And finally, the sage and the basil are in full swing. I already made several large batches of pesto and have that frozen for consumption at a later date. And I have plans for the sage. So what to do with the basil that is ready today and just simply can not go to waste?

The short answer - Basil Vinegar. It is a wonderful addition to pasta sauces and chicken stock and it is so simple that you can get it 50% completed in less than 20 minutes.

Basil Vinegar

2.5 cups lightly packed fresh basil leaves

2 cloves of garlic, peeled and slightly crushed

8 cups white wine vinegar

Rinse your basil thoroughly and then pat dry with paper towel. Once basil is completely dry, roughly chop and place in 2 separate clean and sterilized 1L jars. Add 1 clove of garlic per jar and set aside.

In a larger stainless steel pot, heat the vinegar, but do NOT bring it to a boil and remove from the heat.

Pour the hot vinegar over the basil and garlic into the jar, stir gently and then allow to cool. Once it has cooled down, place 2-3 layers of saran wrap over the top of each jar and screw on a jar lid. Place in a cool, dark place for a minimum of 2 weeks shaking the jar gently every couple of days to distribute the basil leaves around. NOTE: the leaves will float in the jar and this is ok.

After a couple of weeks, taste the vinegar and if you are happy with the intensity of the flavour move onto the next steps immediately. Otherwise, continue to let it sit until the flavour is where you want it.

Strain the vinegar over a bowl using a fine meshed sieve and disgard the basil. Rinse your sieve and using either cheese cloth or several layers of coffee filters, strain once again.

At this point in time you can pour the vinegar into your bottles (which you have of course washed and sterilized ahead of time, right?) leaving 1/2" headspace if you are using a screw cap. If you have a cork top, you will want to leave 1/2" headspace between the basil vinegar and the bottom of the cork.

Delicious basil vinegar that you will find no shortage of uses for through the fall and winter months.


Tuesday
Jun252013

Mint Lime Lemonade

It has been a couple of hot and humid days here in Toronto and working in a commercial kitchen tends to be pretty thirsty work. Yesterday the temperature soared into the 30's and I started my shift in the commercial kitchen at 8am. At any one given time there were a minimum of 5 burners on the go and of course the AC in the building was on the fritz...so you can only imagine how hot it got.

And what did I forget to do? You guessed it, I forgot to drink water and stay hydrated.

It only gets worse from here. After I wrapped up in the kitchen, I went home and unloaded approximately 120 jars of pickled cauliflower, unpacked all the tools I needed in the kitchen and repacked and reloaded the car for the evening's preserving class. It would be another 3 hours in a kitchen over a stove and once again the AC was on the fritz and once again, I forgot to drink water and stay hydrated.

So all day long today I have been thinking about a cool, refreshing drink.

On today's kitchen agenda is mint jelly, which I am making special order for a local butcher shop and while chopping the mint I was consumed with the thought of a mojito but lacked the ingredients to whip one together.

Looking around the kitchen I found lemons and limes, sugar and honey and of course mint. I came up with this and at this very moment I am sitting on my front porch with that cool, refreshing drink I have spent the better part of the day fantasizing about.

Mint Lime Lemonade

Ingredients

7 cups water

2 cups sugar

1 cup fresh squeezed lemon juice

1 cup fresh squeezed lime juice

1 tbsp honey

1/2 cup mint, chopped

In a small pot combine 2 cups of water and 2 cups of sugar and over medium heat while stirring on a regular basis until the sugar dissolves, bring to a boil. Turn off the heat and allow the sugar mixture to cool.

Squeeze your lemons and limes and put the 2 cups of lemon/lime juice into a large pitcher. Add 2 cups of the sugar syrup, the remaining 5 cups of water, 1 tbsp of honey and the 1/2 cup of chopped mint.

If you have the luxury of time or perhaps more patience than I, place in the fridge and allow to cool. If like me, you want to drink this the moment it is made, add handfuls of ice, pour and enjoy!

Sunday
Nov042012

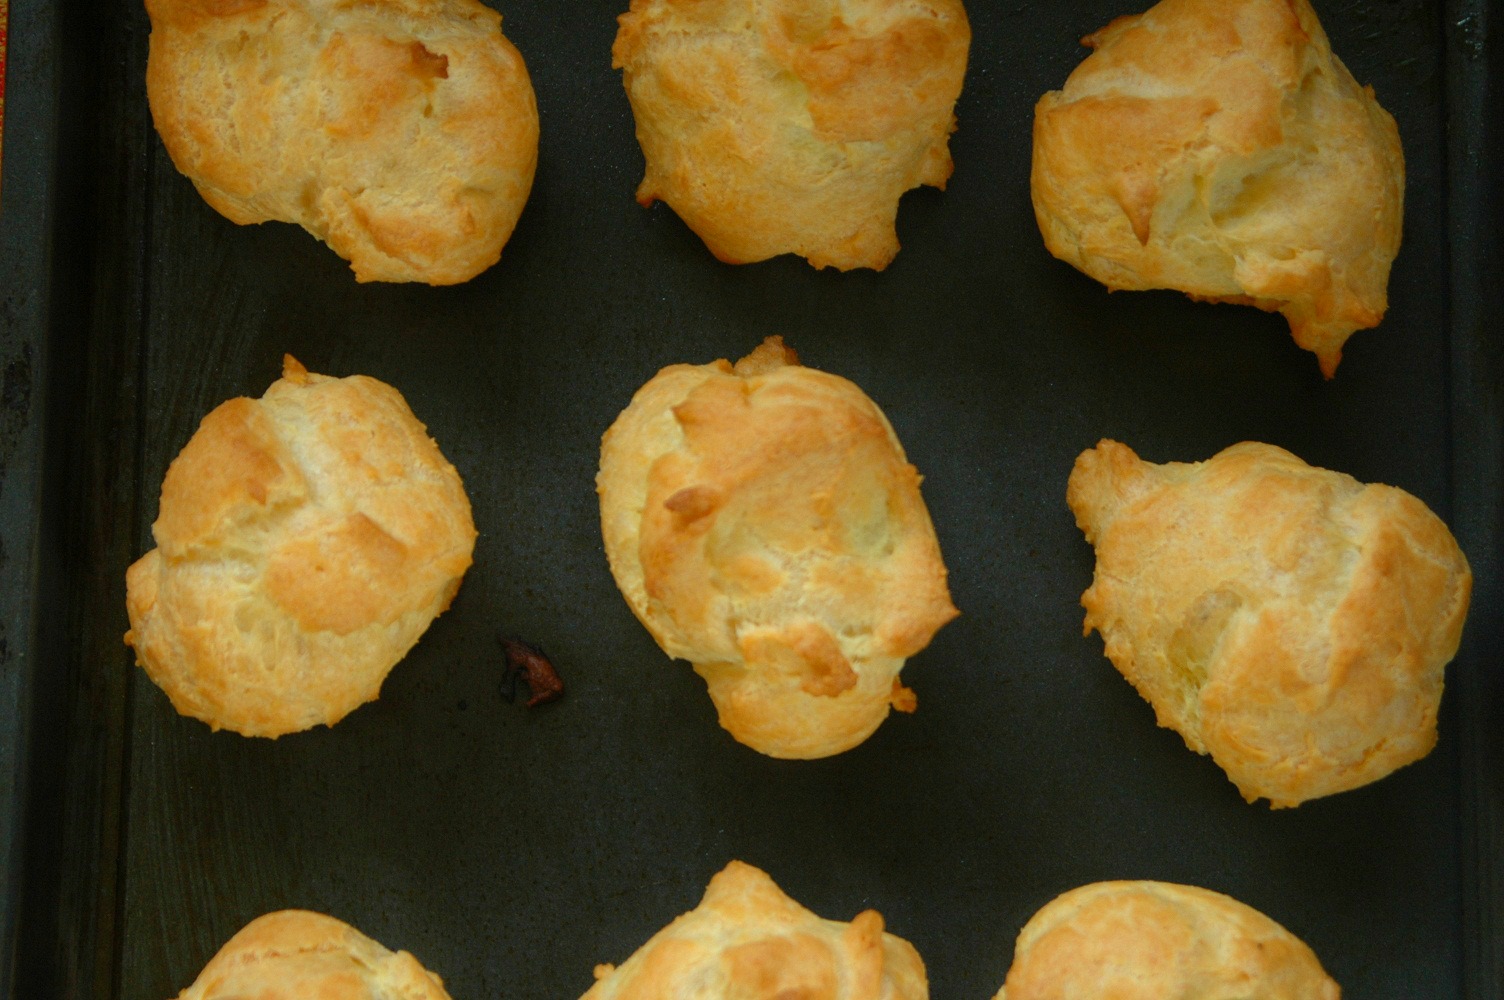
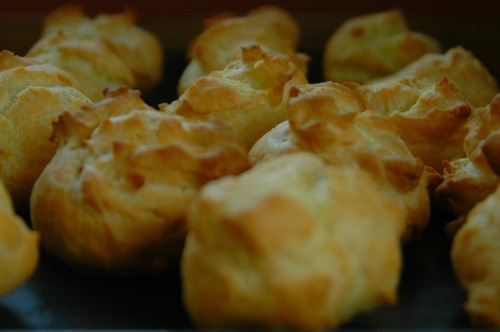
Quick and Delicious Cream Puffs

I blame my mom. There is not a doubt in my mind that my mom is 100%, completely to blame for my current predicamant. You see, she has been visiting for the past few weeks and while she has been here there has been a lot of baking taking place in my kitchen. I came home from work last week and my entire house smelled like chocolate chip cookies. Then last weekend we made butterhorns and yesterday we decided to make cream puffs. And this morning when I went to put my jeans on - they felt a little bit tighter than usual. Way to go mom! :)

WARNING: You will only want to make these if you are having friends of family over. This recipe yields between 12-16 cream puffs and if you decide to make them you WILL end up eating them all yourself. Now don't say I didn't warn you.

Quick and Delicious Cream Puffs

Cream Puff Ingredients

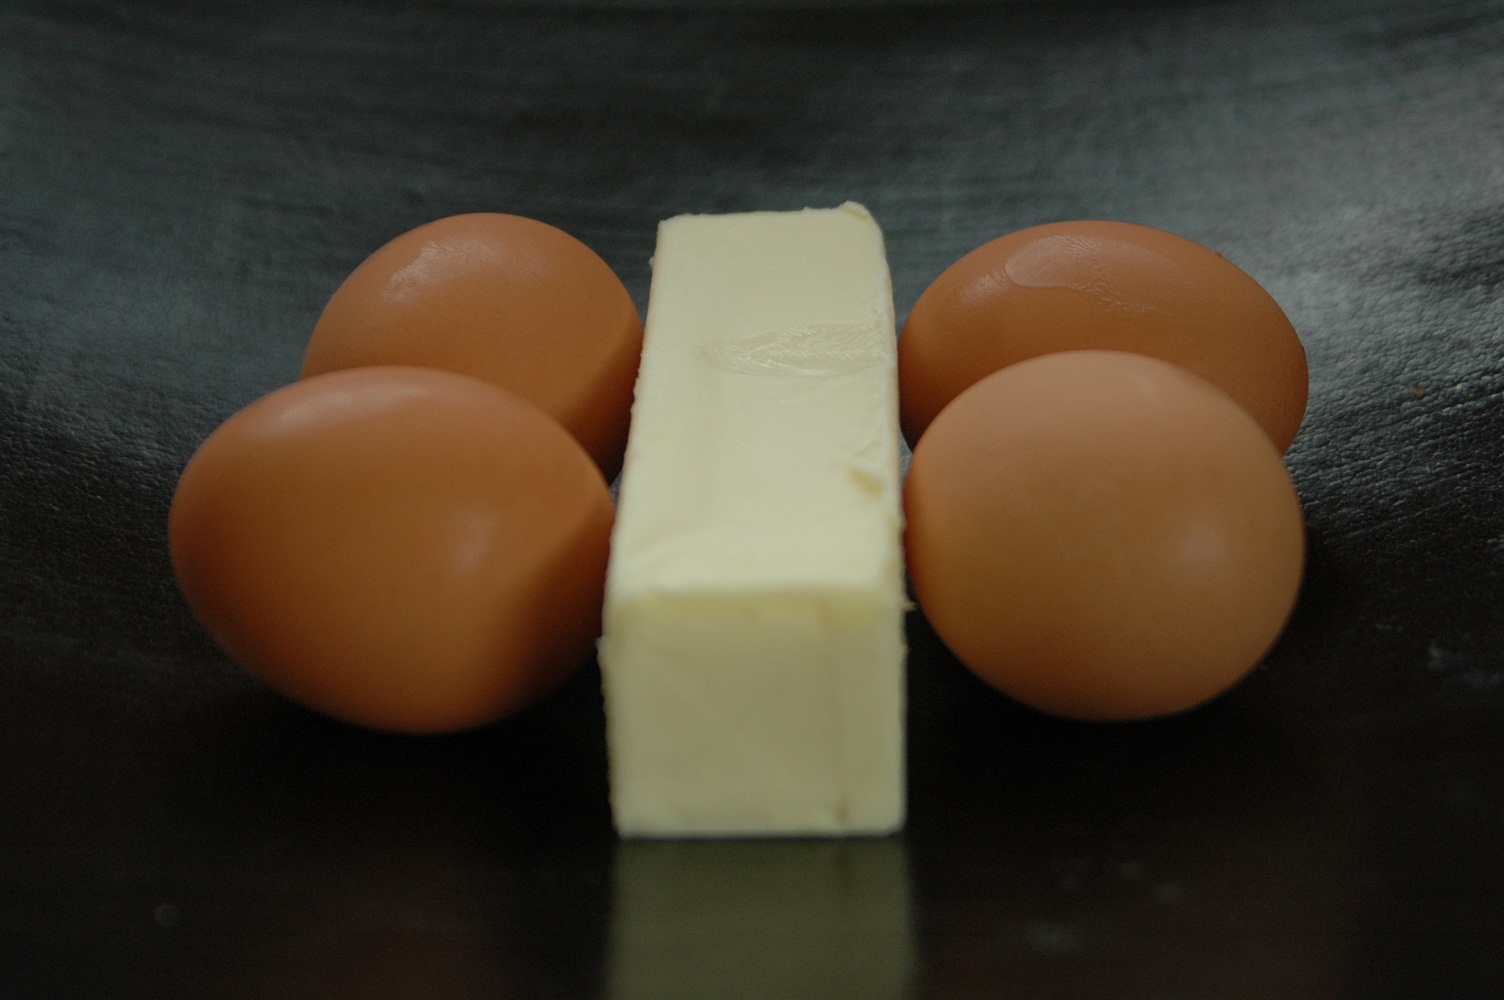
1/2 cup butter

1 cup water

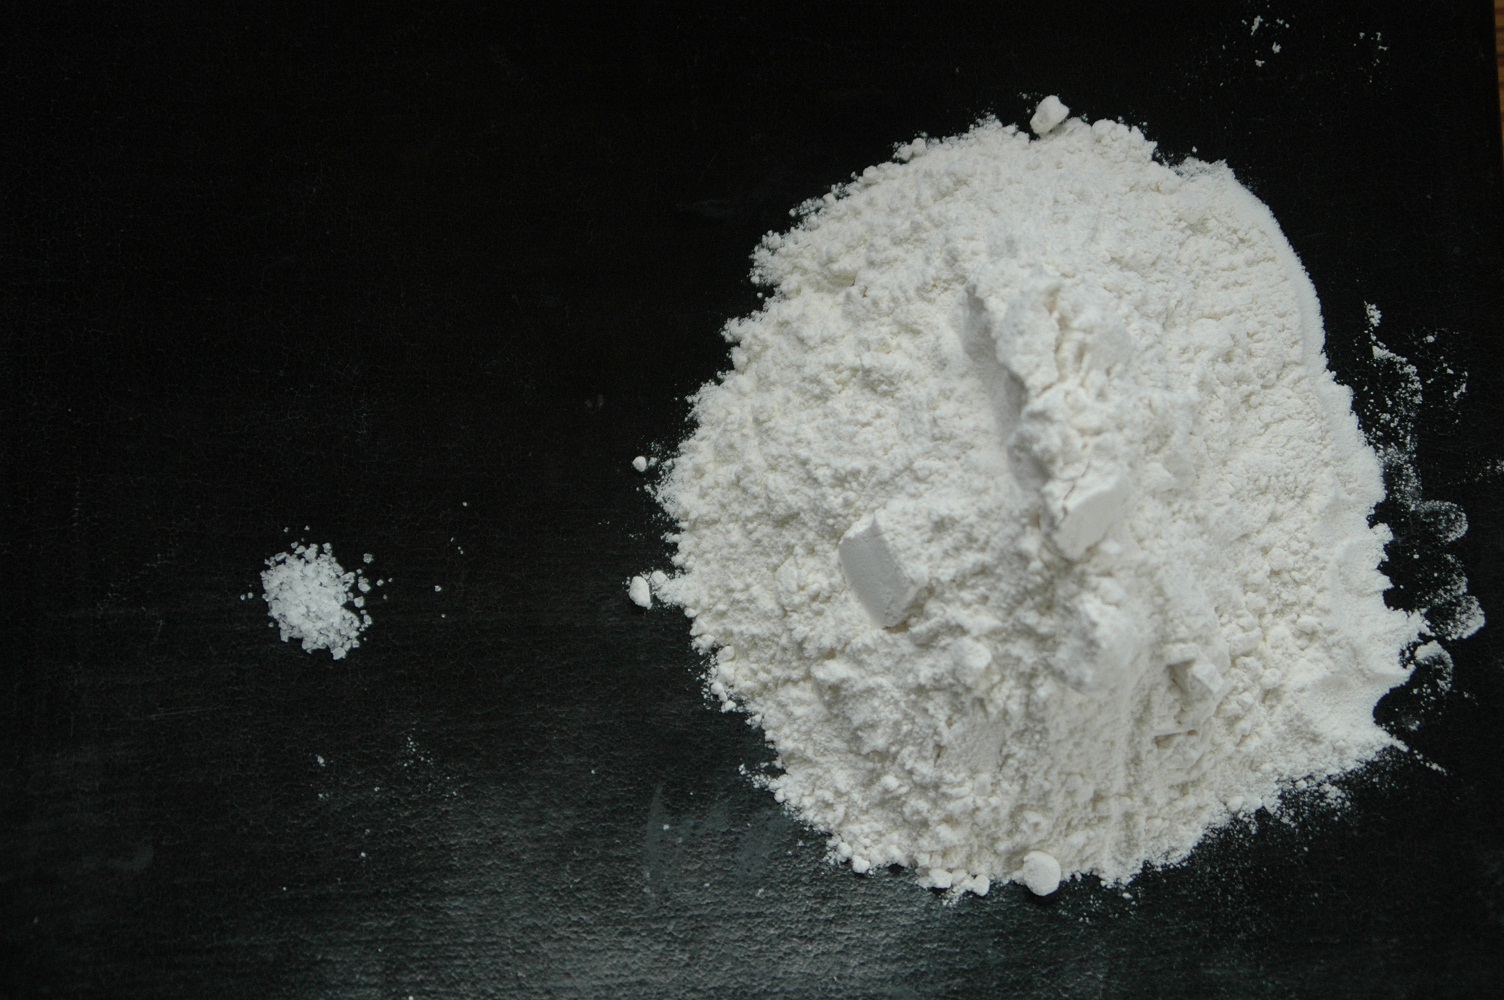
1 cup flour

1/8 tsp salt

4 eggs

1/2 tsp vanilla

Filling ingredients

2 cups Whipping cream

2 tbsp sugar

1/2 tsp vanilla


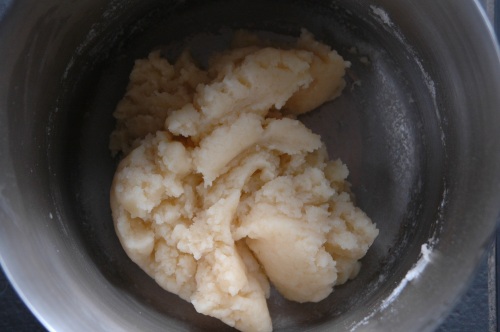
Bring 1 cup of water to a boil in a medium sized sauce pot and then add butter and salt. Stir over heat until butter melts and then bring the mixture to a vigorous boil. Add the cup of flour and continue to stir until dough forms a soft ball and leaves the sides of the pan clean. Remove from heat and allow to cool for 5 minutes. Be careful not to overcook.

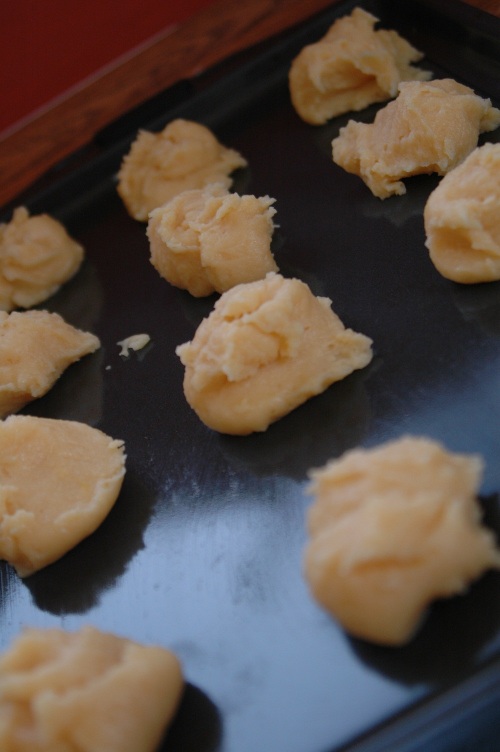
Fold in eggs one at a time and stir them into the mixture briskly until the mixture thickens and becomes quite stiff. Repeat this process with the remaining 3 eggs. Using a spoon,  place the mixture on an ungreased baking sheet.

Bake at 450 degrees for 15 minutes, then reduce heat to 350 degrees and bake for 20-25 minutes or until golden brown.

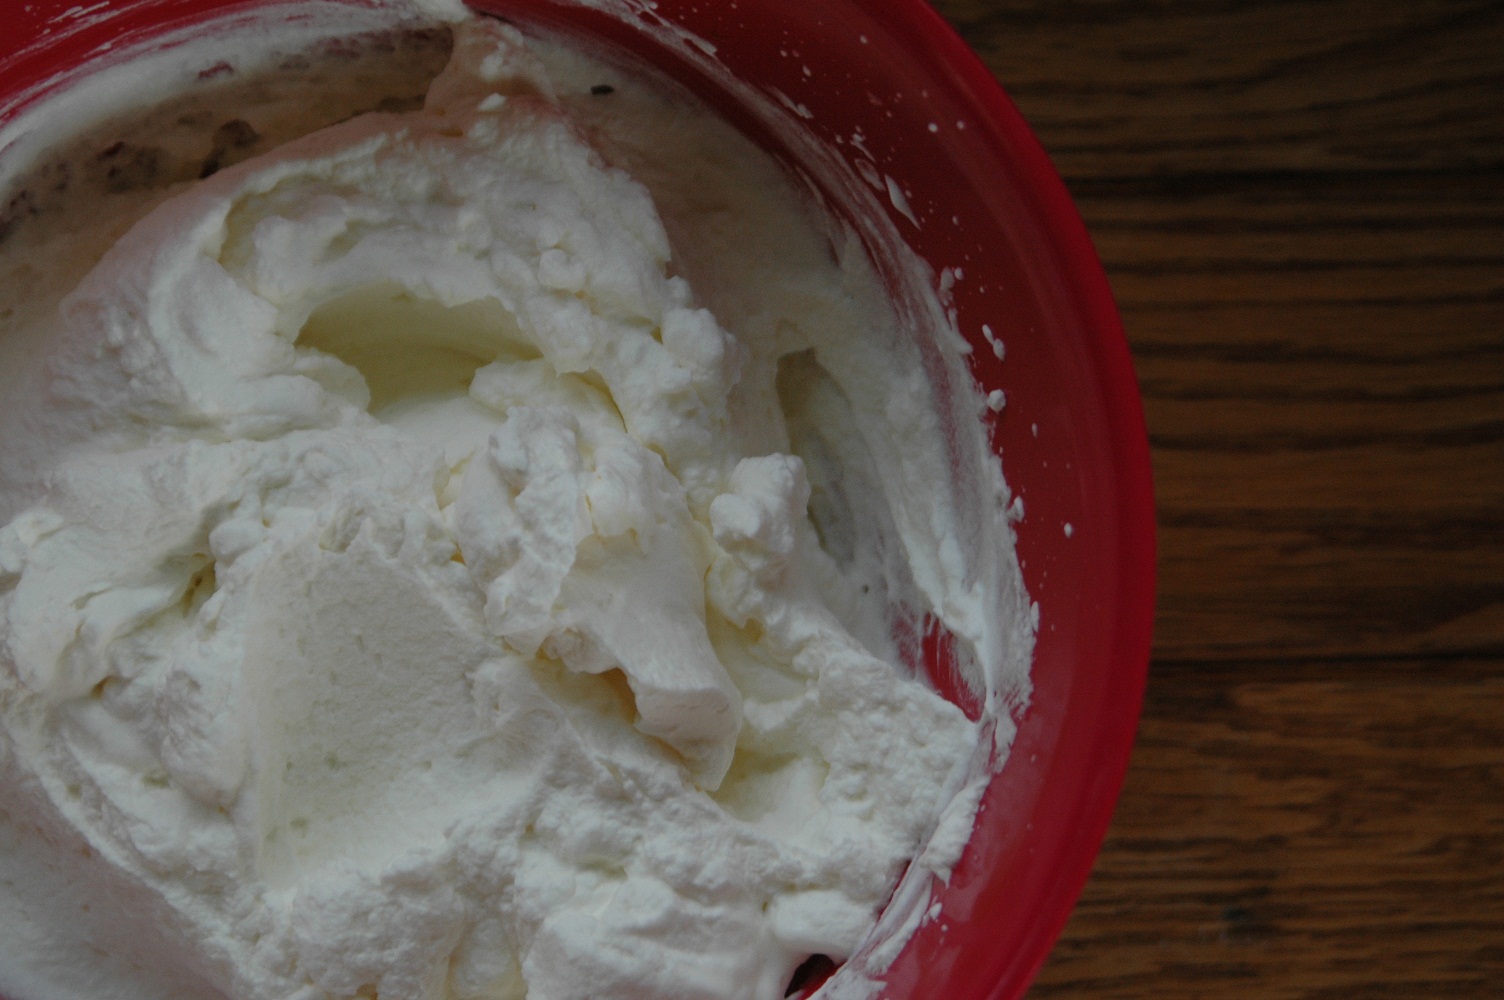
While the puffs cool on the counter, you can make the filling. Place the 2 cups of whipping cream into a medium sized bowl and using an egg beater, whip the cream until it begins to thicken. Add the sugar and the vanilla. You can also choose to add chocolate or raspberry jam or a combination of other tasty ingredients should you choose.

Slice the cooled cream puffs in half and spoon in your filling of choice. We kept it traditional and true to the recipe and didn't add anything else to the filling and it was as delicious as I remember.


Monday
Aug062012

What do you get when you mix 3lbs of bacon, coffee and maple syrup together?

It all started with an innocent suggestion from my friend Sue on my facebook page when she asked me if I could make her some bacon jam. It was a simple comment but it started the gears in my mind to turn and then Chef Cheryl from the Meat Department on the Danforth offered me free bacon to experiment with and it was 'Game Over'.

I had bought some bacon jam in the winter and even though I LOOOOVE bacon, I found the flavour too bacon-y and perhaps lacking in complexity. So this weekend after picking up 5lbs of free bacon (and I promise I will only mention them one more time here) from The Meat Dept on the Danforth it was time to do a little research online to see what people were saying and doing when they made Bacon Jam. Some were adding tomato which sounded interesting while others were sticking to garlic and onion and then there were still others who were dancing with maple syrup.

What to do? What to do?

So this morning, I got down with my bad self in my kitchen and started to experiment. Bacon, onions, garlic, brown sugar, some very strong coffee, some maple syrup and a touch of vinegar all magically combined in my cast iron frying pan and turned my house into a mouth watering sensation. Even now several hours after the fact, my kitchen smells so good that my mouth waters when I enter it.

I now have 5 jars of bacon goodness sitting in my fridge and tomorrow I believe that I will go into the backyard and pick some ripe tomatoes from my garden and I will toast a little white bread, spread some bacon jam on there and then slice some fresh tomatoes on top and call it heaven.

Care to come for dinner?

Later this week, I will be swinging by and paying the good people at The Meat Dept a visit with 4 jars of bacon jam so they can do a little taste test and tell me what they think. I will share the verdict once I hear.


Wednesday
Jul042012

Scarborough Sangria

I have served this drink over the past 2 summers and almost every single person that has tried it has quite honestly loved it and most have ended up asking for the recipe and serving it themselves. Not a lie.

If you plan on having friends over for a bbq or up to the cottage or over to the pool for an afternoon of splashing and relaxing and you want to serve a refreshing beverage, this could possibly be the drink of your summer.

There are a couple of fantastic things about this drink and I will list them here in no particular order. It takes barely any time at all to make it. You make it by the pitcher, not by the glass (however you could downsize the recipe and make a glass just for yourself if you wanted), it won't break  the bank and it tastes delicious.

I have called it Scarborough Sangria.

1 bottle or inexpensive red wine (you choose whether that is a Malbec, a Shiraz a Cab Sauv)

1 L bottle of Fresca

Chopped strawberries and grapes (totally and completely optional)

Ice

Now here come the instructions though you almost don't need them. Open the bottle of wine and pour into a pitcher, add about half of the bottle of fresca, throw in the fruit and the ice and serve.

May this become the drink of your summer!