Preserving Classes

We are excited to continue offering preserving classes at The Depanneur in 2014. Stay tuned for details.

Interested in learning how to preserve in the privacy of your own home. I am offering individual or group home classes. I will come prepared with the recipe, the tools and the supplies. You and your friends will walk away with the knowledge and some tasty treats. If this sounds interesting send me an email.

Blog Index
The journal that this archive was targeting has been deleted. Please update your configuration.
Navigation
Tuesday
Nov132012

Pressure Canning vs Water bath

There are two ways to process preserved fruits and vegetables, but how do you know when you need to use one method over the other? When can you safely water bath something versus having to pressure can it?

There is a simple rule - fruits and HIGH acid foods can be safely preserved using the water bath whereas vegetables and LOW acid foods are what NEED to be pressure canned. Now don't go confusing pressure canners with pressure cookers or steamers, or it may result in some exploding jars, contaminated product or worse. Pressure cookers and steamers simply will not heat the contents of your jars to the correct temperature, so be sure you are using a pressure cooker and follow the operating instructions that you will find inside the box. Pressure canning increases the temperature of the product inside your jars to a hot enough temperature that it kills and bacteria present and will also deactivate any unwanted enzymes.

So what types of items are considered LOW acid?

  • tomato sauce recipes that do not have lemon juice added to them
  • vegetables that are not pickled using vinegar
  • meats and seafood
  • vegetables with a pH level higher than 4.6, lack the acidity to stop the growth of bacteria spores

The basic process of the water bath

- To calculate the size of the water bath canner, keep these measurements in mind. You need to allow for the following:

  • height of your jar
  • a minimum of 1 inch of water above the jar
  • 1 inch of air space above the water level
  • 1 inch for the rack you place on the inside of your pot
  • the pot should be no more than 4 inches larger in diameter than your stovetop burner to allow for the water to achieve and maintain the proper temperature

Once you have chosen the correct sized water bath canner/pot for the job, follow these simple steps to complete the water bath process.

  • Put your rack on the bottom of your canner and fill with water, leaving as much as 4 inches of clearance from the top of the canner. If you notice mineral deposits beginning to form on your processed jars, you can add vinegar to the mix to prevent this.
  • Place the lid on the canner and place your canner on your stovetop and turn heat to high
  • Using a jar lifter, place each of your sterilized and filled jars into the canner and ensure it is sitting flat on the rack within. Leave space between each of the jars to ensure water continues to circulate between the jars and heats jars evenly.
  • Ensure that there is a minimum of 1 inch of water above the top of your filled jars and if necessary add more hot water to the pot
  • Bring the temperature of the water up to the level required for your recipe and begin timing the water bath.
  • Ensure the temperature maintains at a minimum the temperature outlined in your recipe and increase heat if required.
  • Process for the full amount of time prescribed in the recipe. Do not shorten this time or you may not kill any harmful bacteria present inside your jars
  • When the time is complete, remove the jars from the bath and place on a cooling rack or tea cloth. Never place your hot jars directly onto your countertop or they could shatter.
  • Allow the jars to cool and then store in a cool, dark place.

The basic process for pressure canning using a weighted gauge canner (be sure to read any manufacturer instructions that come with your pressure canner)

  • Place the metal rack that comes with your canner on the bottom of the canner and fill with 2-5 inches of water
  • Place the pressure canner on your stovetop over low heat and bring the temperature to 180F.
  • Using a jar lifter, place each of your sterilized and filled jars into the canner and ensure it is sitting flat on the rack within. Leave space between each of the jars to ensure water continues to circulate between the jars and heats jars evenly.
  • Put the lid on top of your canner and twist into place leaving the weighted gauge off the canner to start
  • Increase your heat to medium-high until steam begins to escape. At this point, set your timer for 10 minutes.
  • After it has steamed for 10 minutes, place your weighted gauge on the steam vent. The gauge you use will be outlined in your recipe. Do not change the weight used
  • After about 4-5 minutes your gauge should show that you have reached the desired pressure. Set your timer for the amount of time outlined in your recipe. Ensure the pressure does not drop throughout the entire process. If it begins to drop, increase your heat.
  • Once the time is complete, turn off the heat. Let the canner cool until the gauge reads zero. DO NOT OPEN BEFORE IT REACHES ZERO AS THERE WILL STILL BE A BUILD UP OF PRESSURE INSIDE THE CANNER AND YOUR LID COULD SHOOT UP
  • Once you have reached zero pressure remove the weighted gauge and allow the steam to escape before opening the lid. Give your jars a few minutes to cool before removing them from the canner
  • remove the jars from the canner and place on a cooling rack or tea cloth. Never place your hot jars directly onto your countertop or they could shatter.

Couple of tips to remember:

- if the pressure drops during the process for less than 5 minutes, increase your heat until pressure has returned to the desired level. Add 10 extra minutes to the time remaining in the process.

- if the pressure drops during the process time for more than 5 minutes, increase your heat until the pressure has returned to the desired level and re-process for the entire time outlined in the recipe.

Monday
Nov122012

What Can a Farmer's Market do for your small business?


I knew I would get a lot out of being part of the Withrow Farmer’s Market this summer, but I suppose there is still a small part of me that is amazed by how just HOW MUCH valuable information came out of being at the market every 2nd Saturday this summer.

For anyone considering becoming a part of a farmer’s market or weighing the pro’s and con’s to determine if it is a commitment they would be interested in, here are some of the benefits the market had for me and my small business.

  •  On my very first market day a lovely lady by the name of Cheryl came by my booth and sampled some of my jams and pickles. Turns out she is a chef and was just about to start a new job at a local Butcher Shop. She signed up to be on my mailing list and asked me to reach out in 4-6 weeks so we could talk. I am happy to say that The Meat Dept on the Danforth has been carrying Manning Canning products for several months now and that my local market customers can find my products there during the winter months.
  •  It gave me direct access to customers. People that did not know me and would provide me with true reactions to my product. I know what each customer liked, didn’t like, bought repeatedly. Based on these learnings I even tweaked a couple of my products to make them better and appeal to a wider audience
  •  I used the market as a testing ground for new seasonal products and got customers input on price point, how they would use the product and it’s selling features
  •  I made great connections with local farmers also selling at the market. Bought direct and was able to show my market customers exactly where the product in my jars came from. Very powerful selling feature
  •  Was able to test my packaging with new faces on a bi-weekly basis. The perfect focus group to put the design to the test
  • Formed a great relationship with the market itself and have partnered with them to provide canning and preserving lessons. Next up Caramel Apple Jam on Monday, November 19th.  See here for details. http://www.eventbrite.ca/org/2611193294
  •  Met wonderful people who shared with me family preserving recipes, spices, herbs and vegetables from their gardens. I even had people bringing me mason jars from home so that I could put them to good use
  •  Market visitors signed up to be on my mailing list and now I have the ability to communicate with them on an on-going basis which would have been impossible otherwise
  • Really got a much better understanding of the demands of replenishing supplies for each market. How much produce did I need to purchase, how much time did I need in the commercial kitchen. It prepared me to venture to store sales and understand how much I could take on at a time
  • Met people like me who have a small food business that they are either trying to grow or even start up. Bounced ideas off of them and shared experiences
  • Allowed me to practice different techniques to describe my product, which has helped me feel more confident doing in-store sampling days like the one I just completed at The Meat Dept this past Saturday
  • Gained an understanding over the 6 months of the market as to my average daily sales and how often customers returned to purchase
  •  And this final point is still in the works, but I may have met Manning Canning’s very first employee at the market ;).

So if you are wondering if participating in a Farmer’s Market is worth the work that goes into it, re-read the list above and think about whether any of those items would help you build your business. I am sure you will find yourself nodding your head and saying yes at least a few times.


Tuesday
Nov062012

Tips for the perfect batch of Jam

There is nothing more disappointing than when a jelly doesn’t set or your jam separates or pickles or preserves float or change colour. Don’t take it as a personal failure! There is a lesson hidden in the jar and once you learn what caused this particular batch not to turn out the way you liked, you are one step closer to making the perfect batch the next time.

With that in mind, here are some tips to help you make the perfect batch of jam every time.

Jams, jellies and marmalades are all made from a balanced combination of four ingredients and the correct proportion of each of these in relation to the other is required to achieve the right set.

  •      Fruit
  •      Sugar
  •      Pectin
  •      Acid

Too little sugar, acid or pectin in proportion to the fruit and your jam will remain liquidy

Too much sugar, acid or pectin and your jam will be stiff

Thinking of speeding up the preparation time for your batch of jam? Put that food processor or blender back in the cupboard! Using one of these handy kitchen tools to chop or crush your fruit could lead to some rather disappointing results:

  • The pureed fruit will be filled with air bubbles and this will lead to additional foam during cooking
  • There will be a higher risk to having the fruit float in the jar
  • You will release way more liquid from the fruit this way than if you were to cut or chop by hand.
  • This can upset the balance of the recipe and you can end up with too liquidy a jam
    • To cook off this extra liquid will require extra cooking time and can lead to burning your jar

Always remember not to double recipes to increase yield. They may fail to set and potentially separate as they cool.

Want to make jam with a sugar substitute or with less sugar, purchase a pectin designed specifically for this purpose and follow the directions on the box carefully

Always check the expiration date on the pectin and follow the instructions for its use carefully.

What tips or tricks do you have for the perfect batch of jam every time?

Sunday
Nov042012

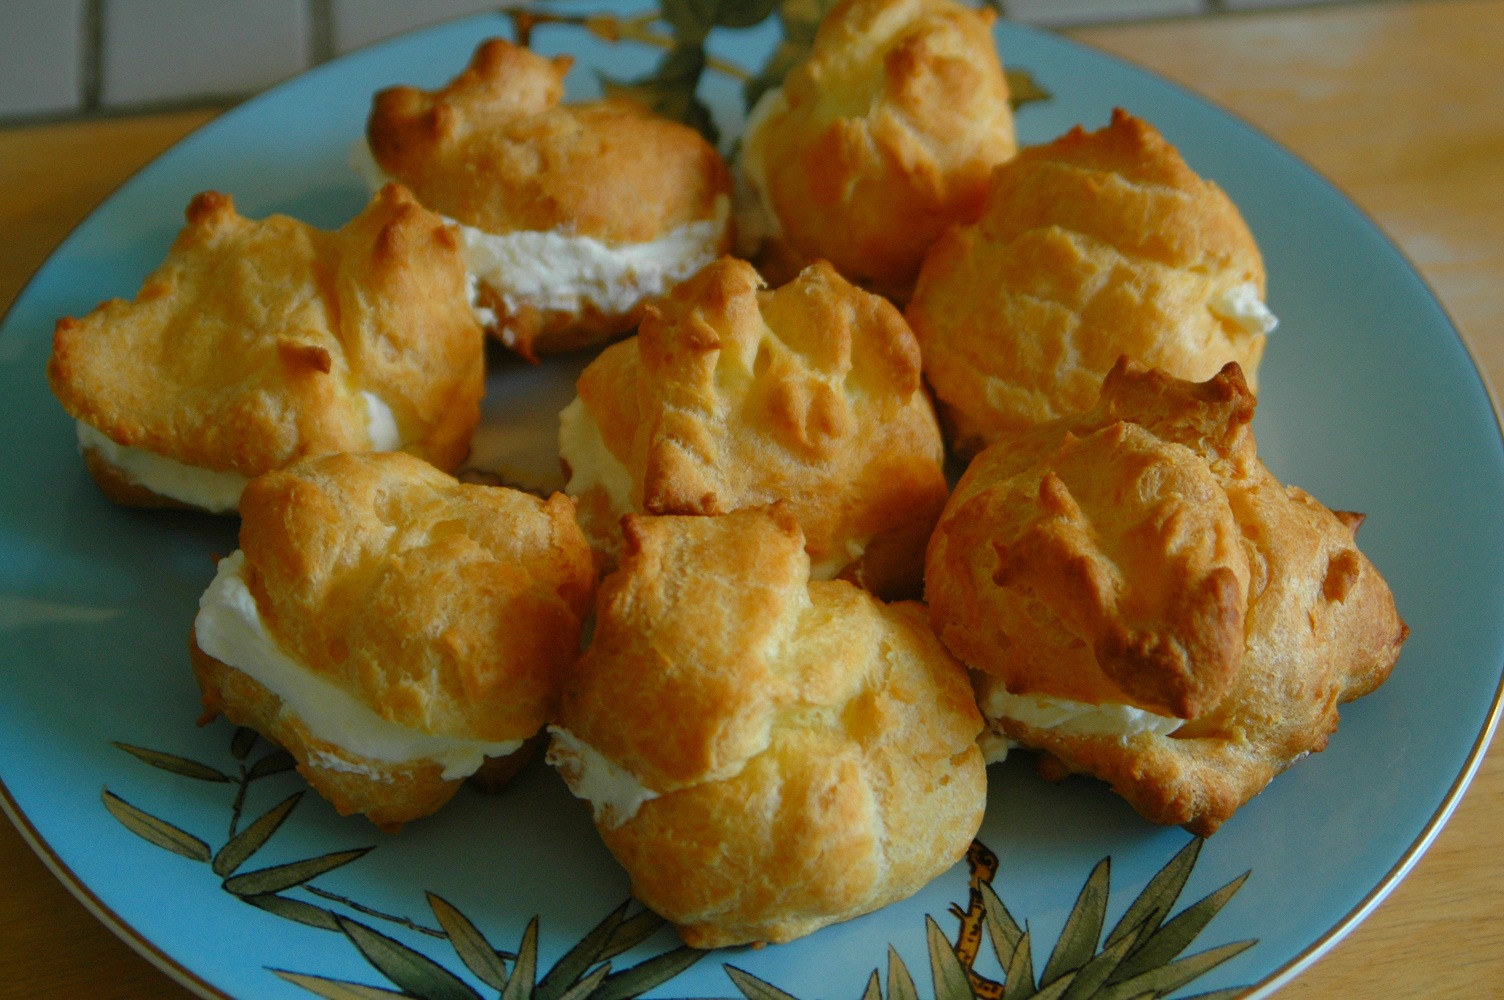
Quick and Delicious Cream Puffs

I blame my mom. There is not a doubt in my mind that my mom is 100%, completely to blame for my current predicamant. You see, she has been visiting for the past few weeks and while she has been here there has been a lot of baking taking place in my kitchen. I came home from work last week and my entire house smelled like chocolate chip cookies. Then last weekend we made butterhorns and yesterday we decided to make cream puffs. And this morning when I went to put my jeans on - they felt a little bit tighter than usual. Way to go mom! :)

WARNING: You will only want to make these if you are having friends of family over. This recipe yields between 12-16 cream puffs and if you decide to make them you WILL end up eating them all yourself. Now don't say I didn't warn you.

Quick and Delicious Cream Puffs

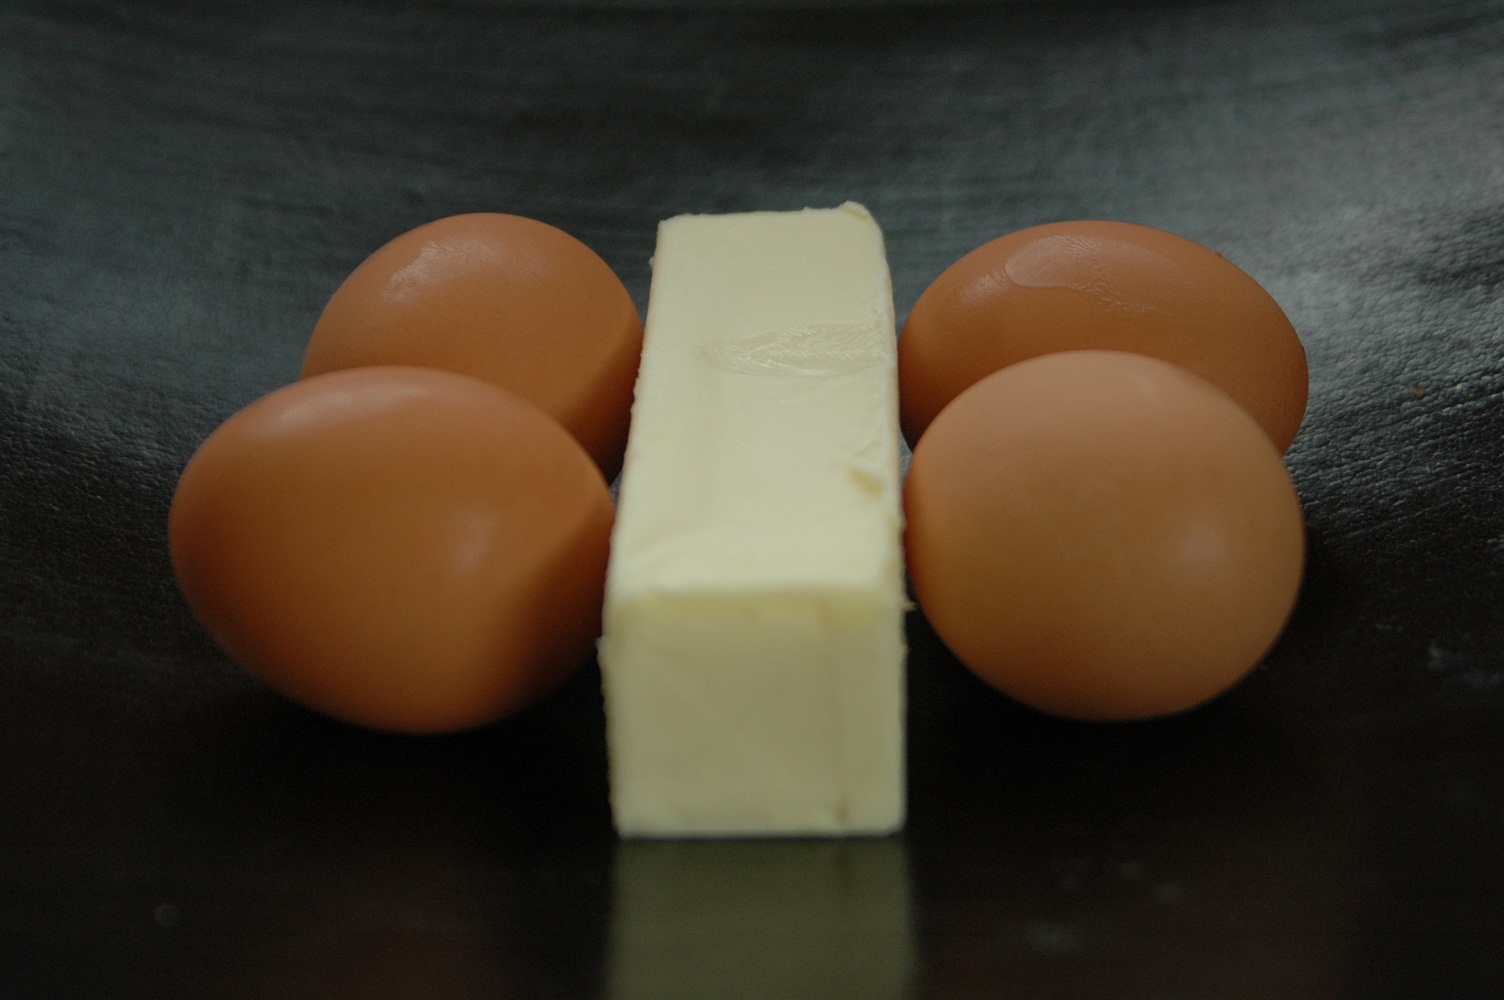
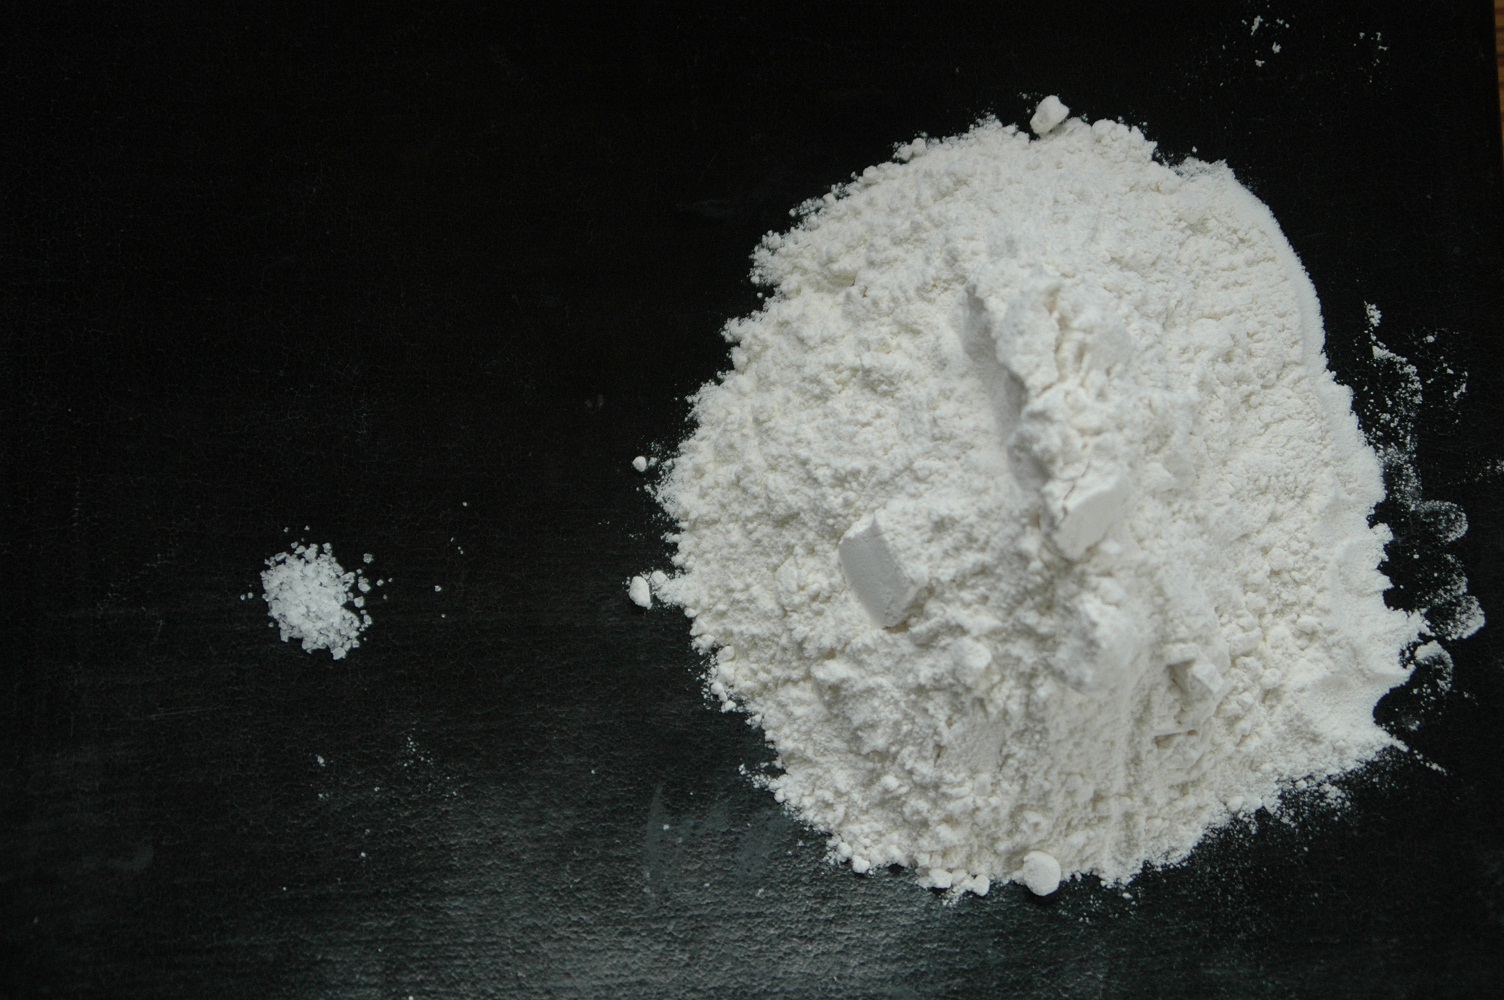
Cream Puff Ingredients

1/2 cup butter

1 cup water

1 cup flour

1/8 tsp salt

4 eggs

1/2 tsp vanilla

Filling ingredients

2 cups Whipping cream

2 tbsp sugar

1/2 tsp vanilla


Bring 1 cup of water to a boil in a medium sized sauce pot and then add butter and salt. Stir over heat until butter melts and then bring the mixture to a vigorous boil. Add the cup of flour and continue to stir until dough forms a soft ball and leaves the sides of the pan clean. Remove from heat and allow to cool for 5 minutes. Be careful not to overcook.

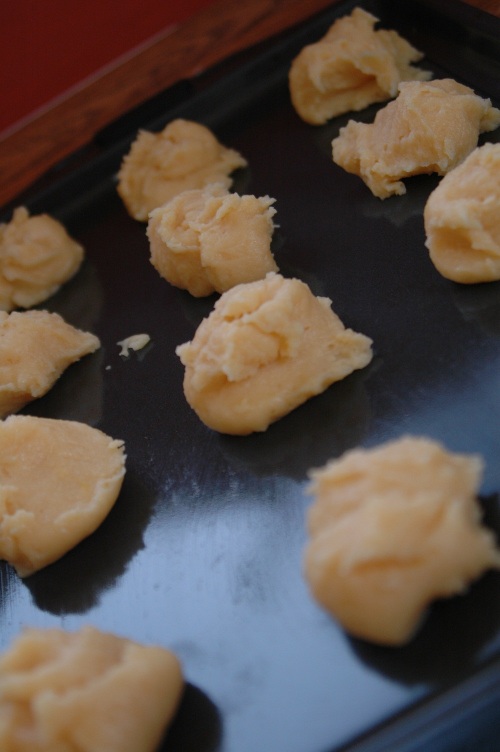
Fold in eggs one at a time and stir them into the mixture briskly until the mixture thickens and becomes quite stiff. Repeat this process with the remaining 3 eggs. Using a spoon,  place the mixture on an ungreased baking sheet.

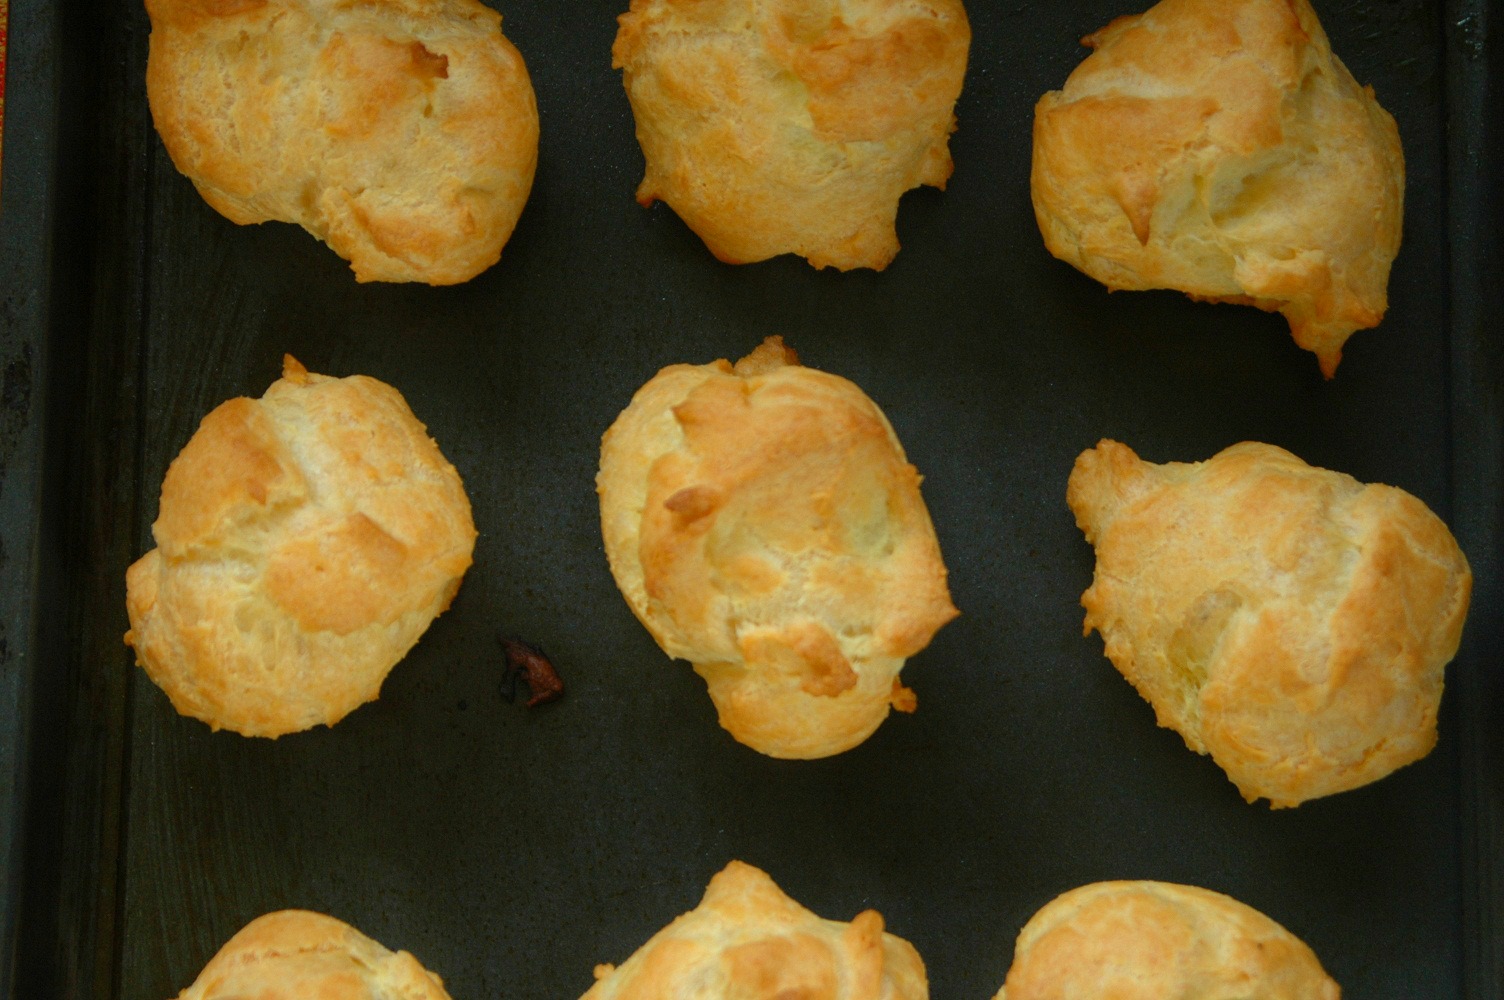
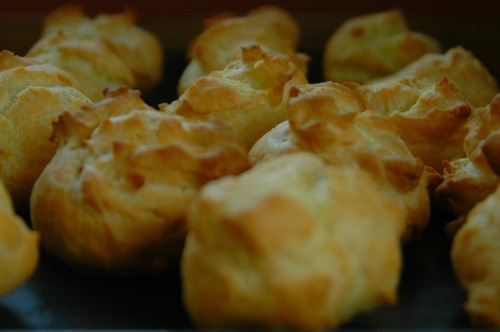
Bake at 450 degrees for 15 minutes, then reduce heat to 350 degrees and bake for 20-25 minutes or until golden brown.

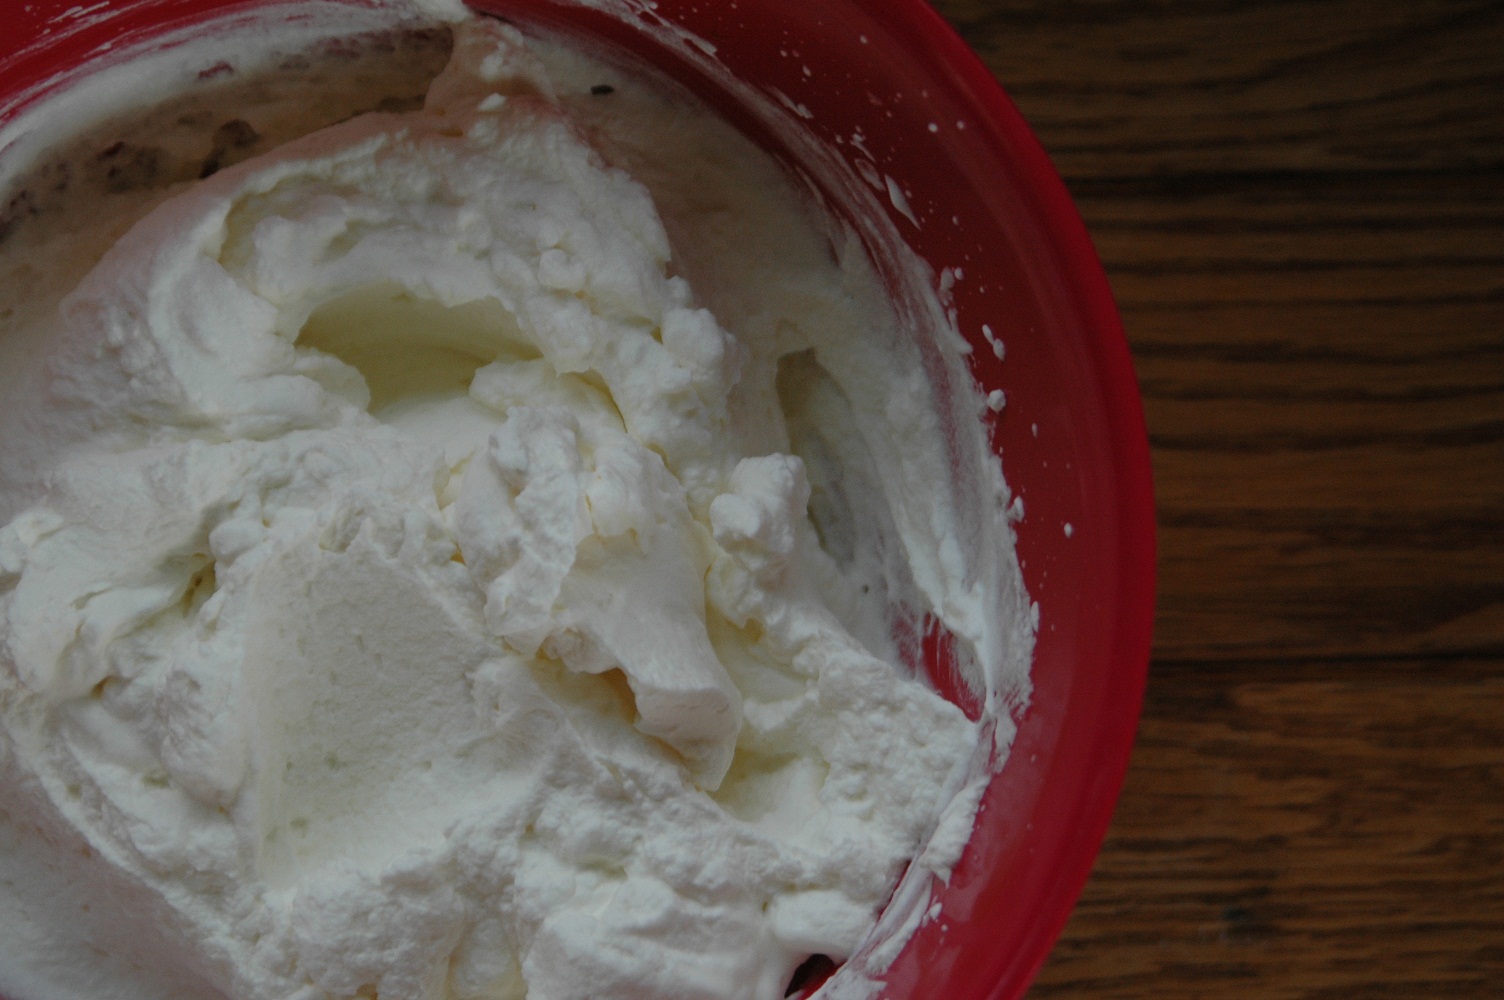
While the puffs cool on the counter, you can make the filling. Place the 2 cups of whipping cream into a medium sized bowl and using an egg beater, whip the cream until it begins to thicken. Add the sugar and the vanilla. You can also choose to add chocolate or raspberry jam or a combination of other tasty ingredients should you choose.

Slice the cooled cream puffs in half and spoon in your filling of choice. We kept it traditional and true to the recipe and didn't add anything else to the filling and it was as delicious as I remember.


Monday
Oct292012

Perfect Fall Preserving

The view to my neighbours house across the street has been blocked from view for the last 6 months because the leaves of the maple tree that grows on the boulevard provide a nice cover. Well in the last few weeks as the leaves began to fall, their house started to appear almost as if the pieces of a puzzle were being put together.

In the last 48 hours as the winds pick up with the expected arrival of Hurricane Sandy the last remaining leaves that were hanging on for dear life fell and my lawn is a blanket of yellow and orange.

These blustery winds and cooler temperatures have me craving comfort food and I want to fill my house with the smell of cinnamon, nutmeg and ginger. If you are having similar feelings, you may want to check out these great posts that have provided me with some inspiration for these fall days ahead of us.

Nectarine Butter - now nectarines might not be in season where you are but there are certainly a lot of great pears available and this recipe sounds like it would work with them as well.

Pear Slices Preserved in Whiskey - if the sound of that recipe alone doesn't start making you feel warmer all on it's own, read it again ;)

Cranberry, Orange and Port Sauce - a nice twist on Cranberry Sauce. This would make a great gift for the upcoming holiday season

Banana Jam - the addition of Vanilla made this jam for me

Pickled Grapes with Cinnamon and Black Pepper - I could just picture these on my next cheese plate

What are your fall favourites?