Preserving Classes

We are excited to continue offering preserving classes at The Depanneur in 2014. Stay tuned for details.

Interested in learning how to preserve in the privacy of your own home. I am offering individual or group home classes. I will come prepared with the recipe, the tools and the supplies. You and your friends will walk away with the knowledge and some tasty treats. If this sounds interesting send me an email.

Blog Index
The journal that this archive was targeting has been deleted. Please update your configuration.
Navigation

Entries in raspberry jam (3)

Saturday
Sep212013

OCTOBER 2013 Preserving: Our Canadian Food Tradition

I can't believe a month has passed and once again it is time to post for the The Canadian Food Experience and that this month I get to talk about something that means so much to me personally.

Sometimes I take my preserving skills for granted. It is just something I feel like I have always known how to do without actually remembering being taught. I feel fortunate to have grown up in a family where jam was always homemade, peaches were preserved so they could be enjoyed in the middle of winter and pickles were always available and on a shelf in the basement.

I always assumed that it was the same in everyone’s house. That when you ran out of jam you went downstairs and could choose from the selection of jams that always seemed to be there; raspberry, peach, cherry or blueberry.  Not that you ran to the grocery store or put it on the grocery list.

I remember vividly sitting on my nona’s front step with my mom and my aunt shelling peas that had just been picked from the garden, making raspberry jam from the raspberries we just picked out of my aunt and my nona’s garden.

I never thought it was weird that I knew the meanings of words such as suspension, headspace, set and waterbath at an age when my friends were talking about smurfs, then Sweet Valley High or Flowers in the Attic.

I spent almost 2 decades working in packaged goods, fashion and digital marketing before I finally found what I now consider my “calling” and it turned out to be preserving. And of course, it was something that had been sitting there right in front of my eyes for years.

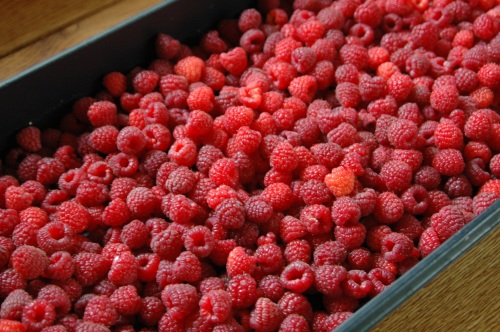
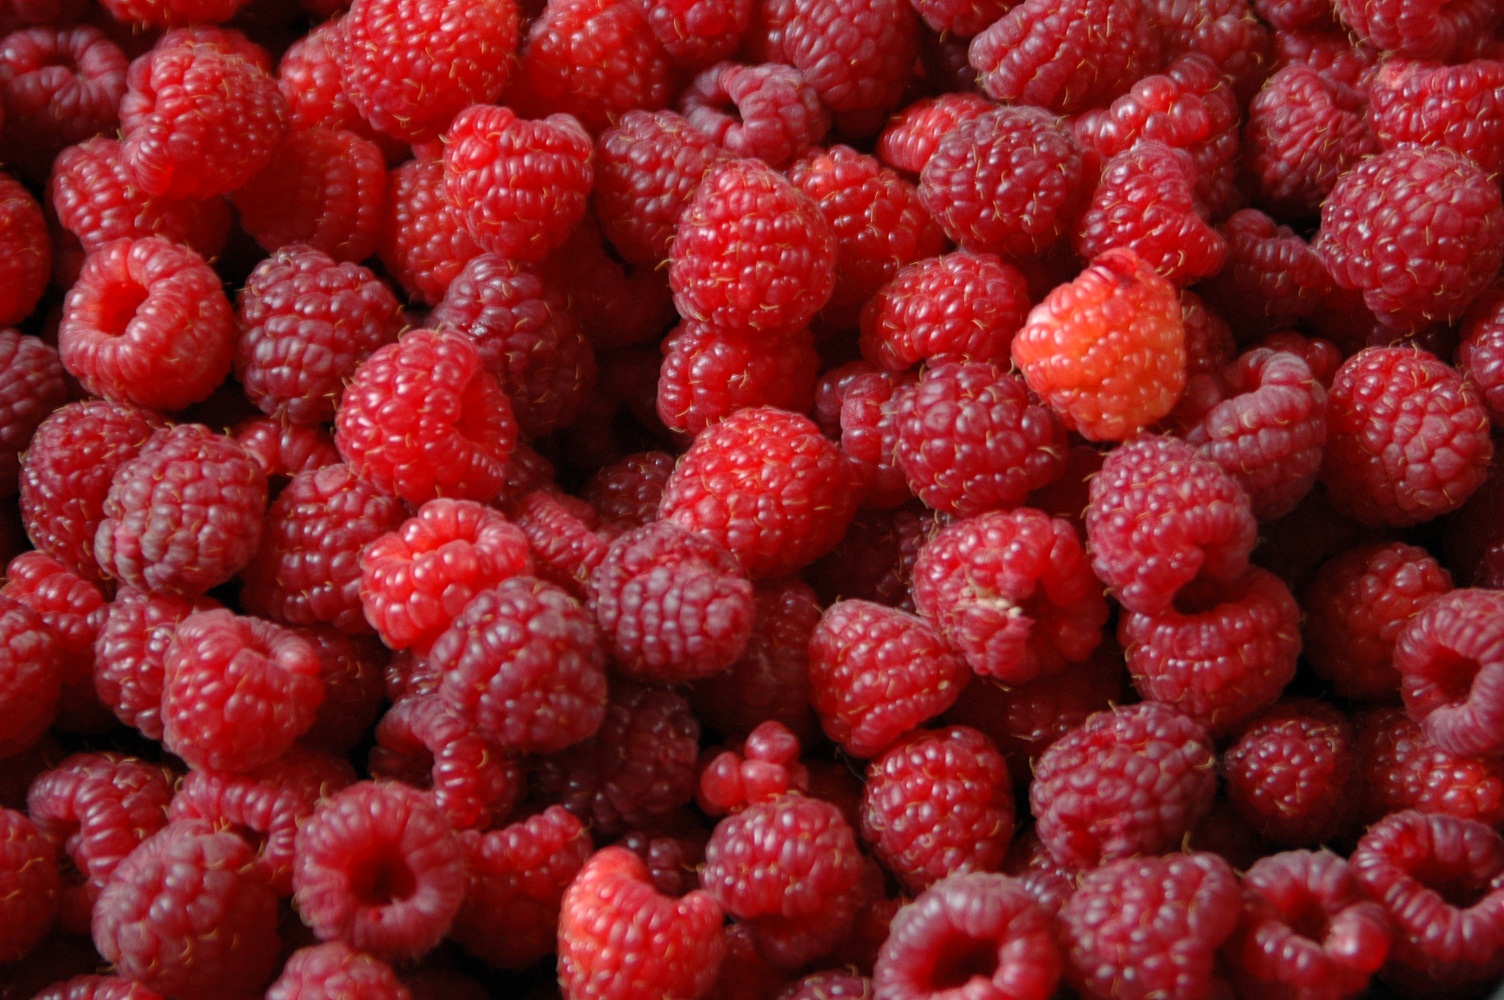
Recently I was asked what my favourite thing to preserve was and without hesitation my answer was Raspberry Jam. I love absolutely everything about it. I look forward to raspberry picking from the moment the last snow flake melts, I love the smell of the raspberries as they cook, I thoroughly enjoy beating the crap out of the berries to release the pectin from their seeds and I love spreading the deliciousness on my morning jam.

This recipe was the very first jam I ever made and I love it for it's simplicity. It is how my mom made her raspberry jam and one day, I hope it is how you will make your own raspberry jam. Just remember…if you don’t feel like making your own you can always just buy it from me ;).

Super Simple and Delicious Raspberry Jam

600 gram bag of fresh or frozen raspberries

3 cups granulated sugar

Sterilize your jars and lids.

Place the sugar in a pot or pan and place in the oven for 15 minutes at about 250 degrees. Warming the sugar helps it to dissolve.

Place the 600g of raspberries in a large saucepan and heat over medium high heat. While it warms mash it furiously with your potato masher. The seeds in the raspberry contain pectin and beating the crap out of them helps release it. :) Bring it to a boil, stirring constantly for one minute.

Add the 3 cups of warm sugar, stir constantly and bring it back to a boil. If you have a candy thermometer you can use this to make the whole process even easier. Keep stirring until it reaches 200-220* F. Don't have a thermometer? That's ok, just put a glass plate in your freezer at the same time as you start to sterilize your jars. After the jam has been boiling for about 5 minutes, take the plate out of the freezer and drop about a half of a spoonful of jam on the cold plate and let it sit for about a minute. If a gel forms then your jam is ready. If not keep cooking and try it again until you are happy with the set.

Ladle into hot jars, wipe the rims and seal. Place in hot water bath for 10 minutes and then remove. Now comes my favourite part - when you hear the popping of the lids as they seal.

This recipe yields 3-4 jars of delicious home made jam. That's right...in your FACE store bought jam.


Sunday
Jul152012

Picking raspberries and raspberry jam

I have mentioned my love of picking fruits and vegetables in the past. There is something about it that I just love. It might be the fact that it gets you outdoors, perhaps I just love being around food ;), whatever it is there is no denying that it is something I could spend hours doing.

I have been telling my husband for the past week that I want to get out and pick some raspberries but life has just been so busy. He keeps telling me that instead of 'picking' raspberries it would make so much more sense if I just went out and 'bought' some. And for a few days I was starting to think he was right. When was I ever going to find the time to actually do it this year.

This morning I got up at 7am, jumped into some clothes, grabbed my fruit baskets and took a slight drive north to Whittamore Farms. On the way there I was thinking about all of the things that I need to get done today and by the time I made it to the farm I had almost convinced myself that my husband was right. It just made more sense for me to go into the store, buy the berries and get back in my car so that I could get home and start knocking things off the to-do list.

Am I ever happy I told that inner voice to shut up!

From 7:30am til just past 9am, I stood in amongst rows and rows of ripe juicy berries forgetting completely about all of the things on my to-do list, eating half of what I picked :) and just letting my mind be a blank. The birds were chirping, there was a gentle breeze and the raspberries were so ripe that they were just falling right off into my hands and into my baskets. By about the 2nd basket all you could smell was the sweet smell of fresh rasperries, and the earthy aromas of the farm. It was almost therapeutic.

And now I am home and I have half of the berries in my deep freeze to carry me through the winter and the other half washed and ready to be made into jam. I have a simple recipe that I have used for years and has never let me down. I posted it a couple of months ago using frozen berries but it is exactly the same with fresh. You will find me in the kitchen for the next couple of hours mashing away!

Wednesday
Mar282012

Really, really, really super easy raspberry jam

Over the past few weeks my preserving has come up in conversations quite frequently and I have been surprised to hear from so many people that they are intimidated or afraid to try it. I suppose this is not a fair response on my part. After all, I grew up in a family of preservers so it seems almost natural to me. I can understand how it might be intimidating. When you read some articles online you hear all about the fear of botulism and all of the things that can go wrong. But if you follow some pretty simple instructions and start with a really simple recipe, I think you can get break through that initial fear.

One of the easiest recipes I know is the one that my mom passed onto me for raspberry jam and I thought for all of those people out there who are too afraid to try for fear of screwing something up...that I would share it. I even altered is slightly to use FROZEN raspberries. Yes you heard me....FROZEN. The cost of entry with this recipe is SO small that even if things do go wrong it won't matter.

Here is the checklist for what you need:

- 1 large pot (large enough to fit 3 - 250ml jars and be able to have the water to cover the top of them by about 2-3 inches)

- 3-4 250ml jars with lids

- 1 large saucepan

- 1 potato masher

- 1 wooden spoon

- 1 soup ladle

- 1 600 gram bag of frozen raspberries

- 3 cups granulated sugar


INSTRUCTIONS:

Sterilize your jars and lids.

Put your 3 cups of sugar in a pot or pan and place in the oven for 15 minutes at about 250 degrees. Warming the sugar helps it to dissolve.

Place the 600g of raspberries in a large saucepan and heat over high heat. While it warms mash it furiously with your potato masher. The seeds in the raspberry contain pectin and beating the crap out of them helps release it. :) Bring it to a rapid boil and stir constantly for one minute.

Add the 3 cups of warm sugar, stir constantlyand bring it back to a boil. If you have a candy thermometer you can use this to make the whole process even easier. Keep stirring until it reaches 200-220* F. Don't have a thermometer? That's ok, just put a glass plate in your freezer at the same time as you start to sterilize your jars. After the jam has been boiling for about 5 minutes, take the plate out of the freezer and drop about a half of a spoonful of jam on the cold plate and let it sit for about a minute. If a gel forms then your jam is ready. If not keep cooking and try it again until you are happy with the set.

Ladle into hot jars, wipe the rims and seal. Place in hot water bath for 10 minutes and then remove. Now comes my favourite part - when you hear the popping of the lids as they seal. If you press on your lid and there is no give...it means they have sealed properly and if you store them in a cool dark place they should last for at least 6 months. 

This recipe yields 3-4 jars of delicious home made jam.

See...SO simple and even if the jam doesn't set you can still use it in yogourts or as a soft spread on pancakes or waffles.

Now you have no excuse not to try! If you do try it...please share your experience. I would love to hear how it turns out.